What is a Restore Point?
A restore point is a snapshot of your Windows system settings and configuration at a specific moment in time. It does not affect your personal files, but it does allow Windows to undo system-level changes if needed.
Step 1 — Open System Protection
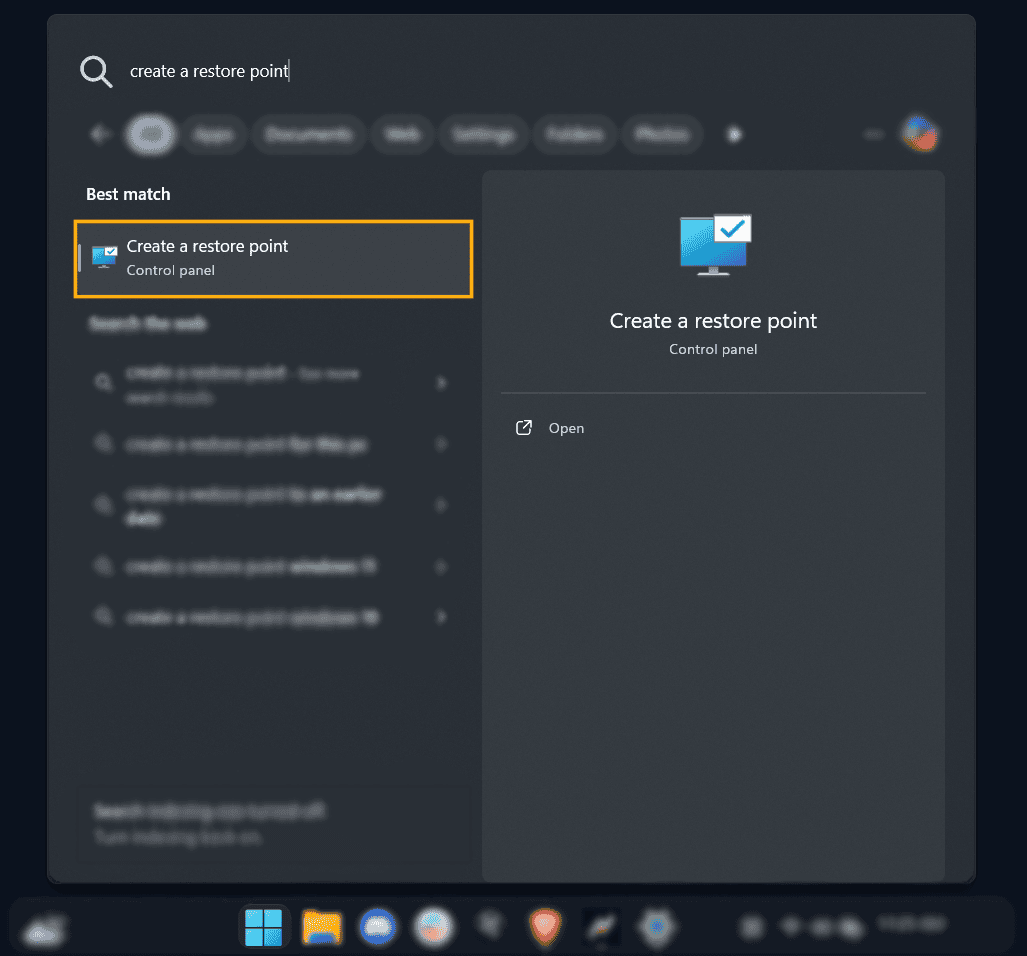
Press the Windows key on your keyboard and type "Create a restore point". Click the Control Panel result that appears at the top of the search.
Step 2 — Verify Protection is Enabled
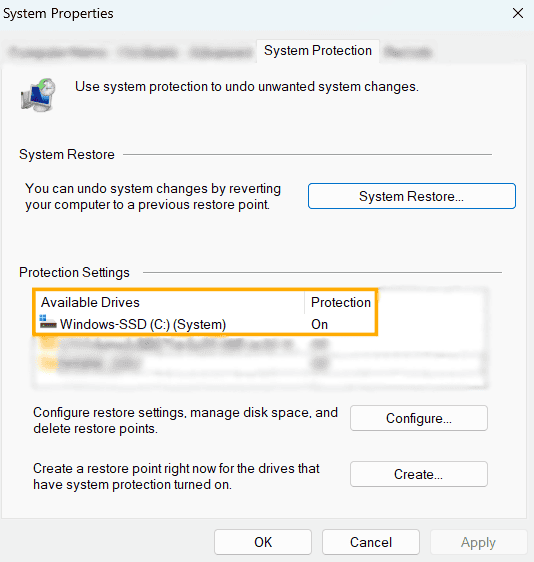
The System Properties window will open on the System Protection tab. Under Protection Settings, confirm that your primary drive (typically Windows-SSD (C:) System) shows Protection: On.
If it shows Off, select the drive and click Configure to enable it before proceeding.
Step 3 — Create the Restore Point
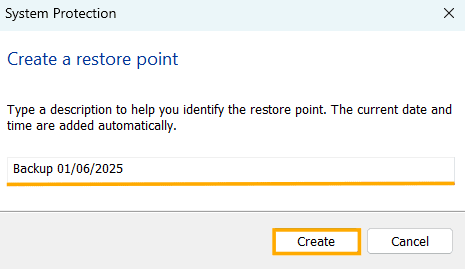
Click the Create... button at the bottom of the window. A dialog box will appear asking you to name your restore point. Enter something descriptive so you can identify it later — for example:
Once Named Click Create
Step 4 — Confirm Success
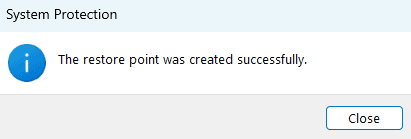
Windows will take a moment to create the snapshot. Once complete, you'll see a confirmation message:
"The restore point was created successfully."
Click Close — you're all set.
How to Use a Restore Point if Needed
If you ever need to roll back, simply return to System Properties → System Protection and click System Restore.... Follow the on-screen prompts to select your restore point and revert your system.
Create a Restore Point using the EXM Utility
How to Create a Backup in EXM Tweaks
EXM Tweaks has a built-in backup utility that lets you create a restore point directly from the app — no need to dig through Windows settings. We recommend doing this before applying any tweaks.
Step 1 — Open the Backup Page
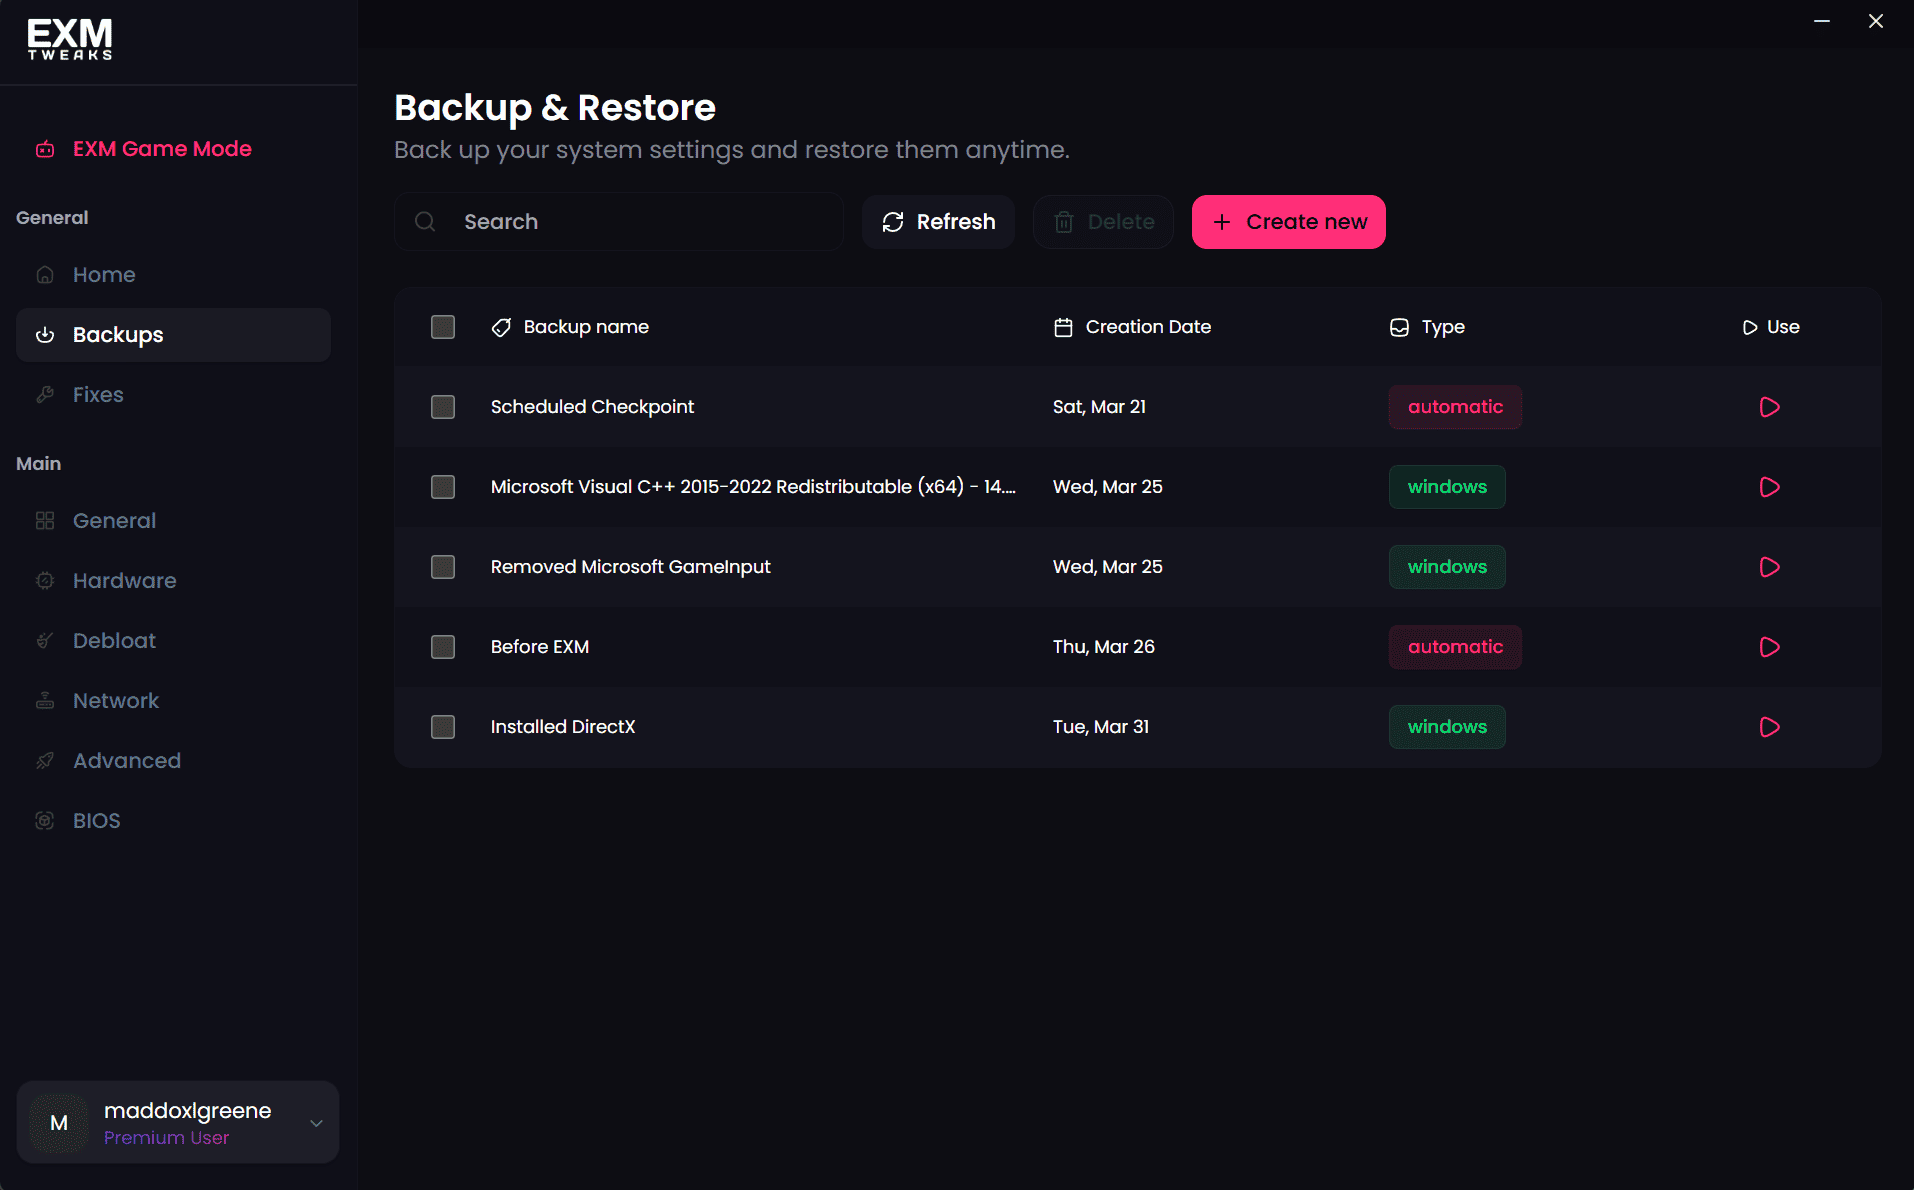
Navigate to the Backup page inside EXM Tweaks.
Step 2 — Create a New Backup
Click Create New to start setting up your restore point.
Step 3 — Name Your Backup
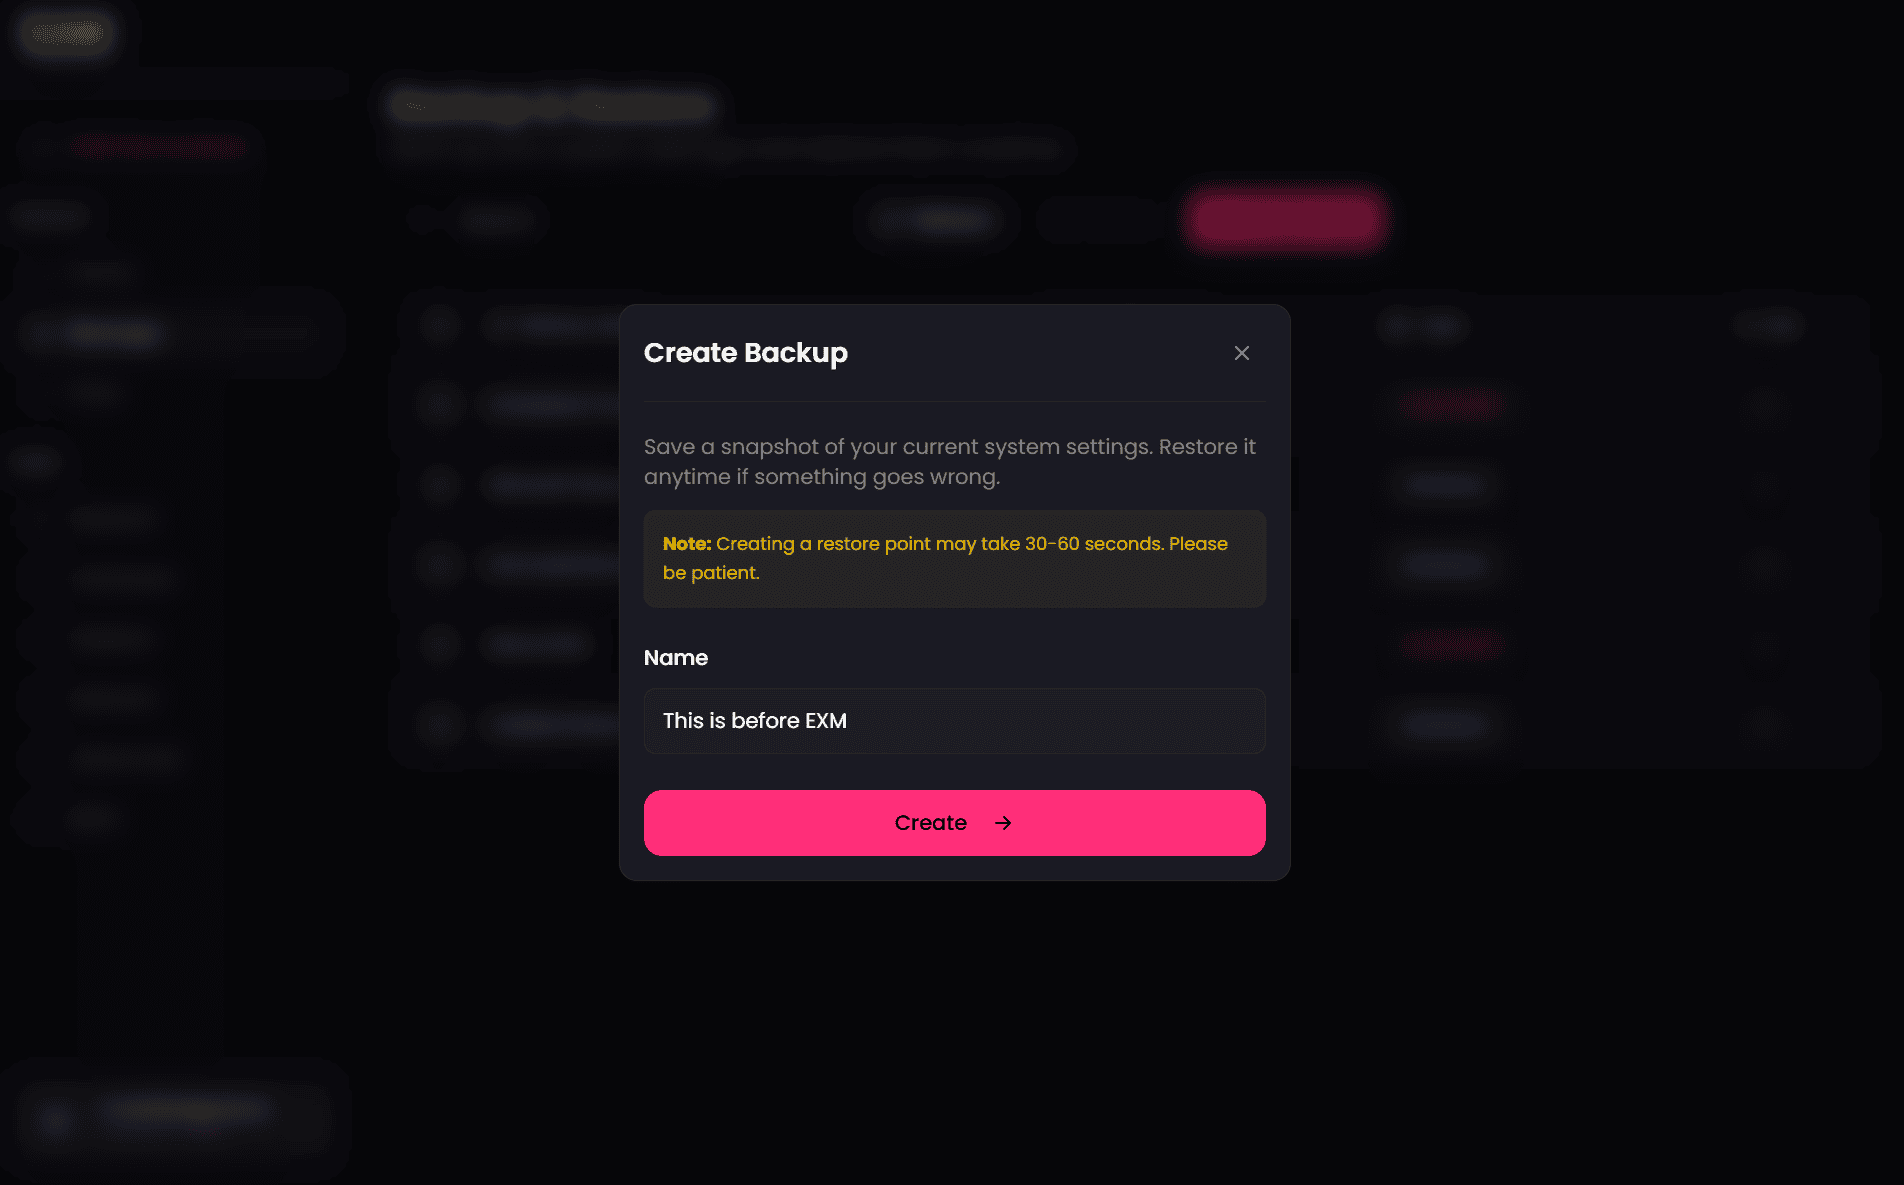
Give your backup a descriptive name so you can easily identify it later — for example:
This is Before EXMStep 4 — Create the Backup
Click Create Backup. EXM will begin taking a snapshot of your current system configuration.
Step 5 — Confirm It's Applied
Once complete, your new backup will appear in the list on the Backup page, confirming it was created successfully. You're all set!
Need Help?
If you run into any issues with the backup process, contact our support team at support@exmtweaks.com and we'll be happy to assist.